 Save
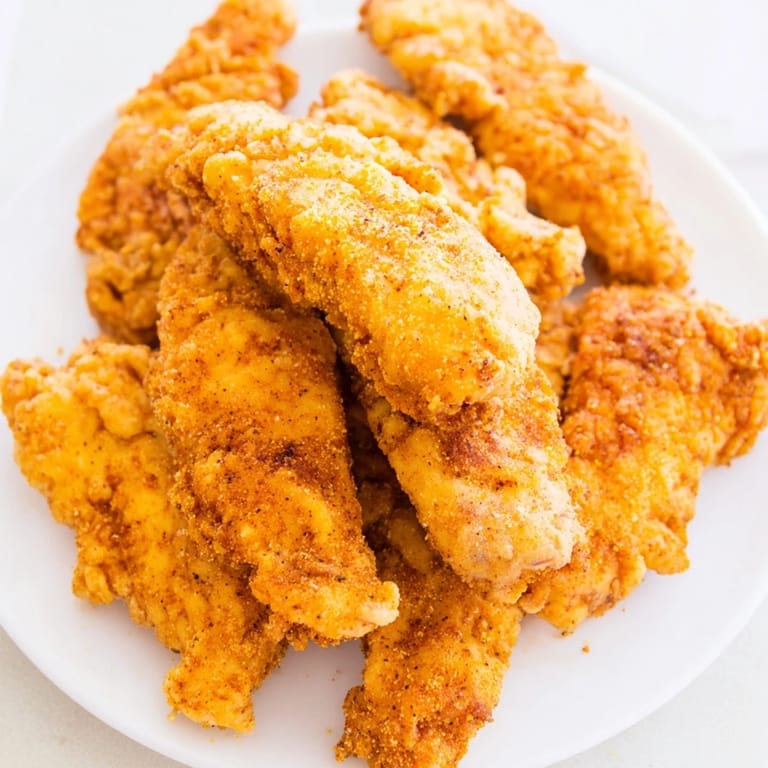
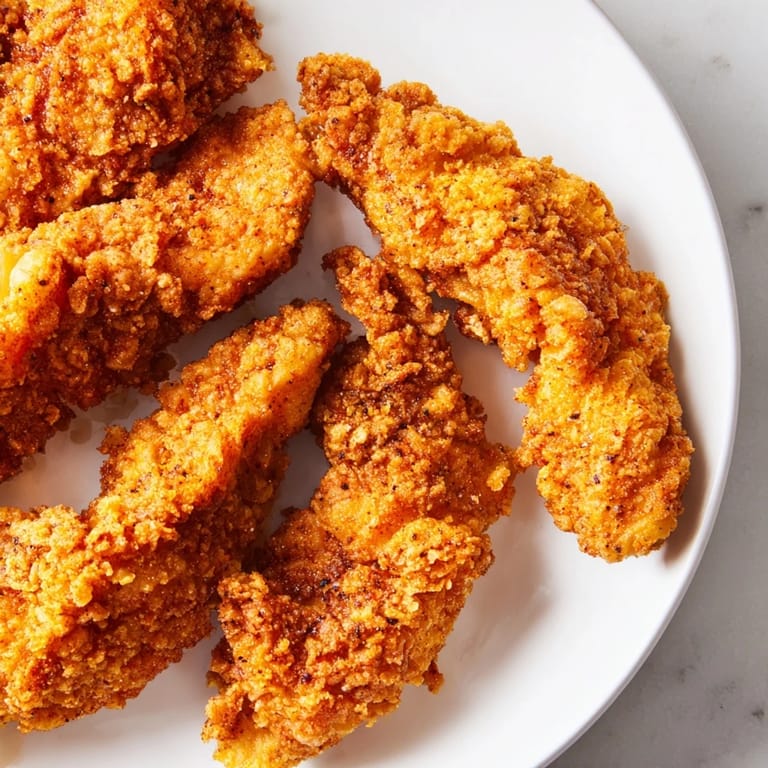
Save My dad used to make these chicken tenders on Sunday nights when I was growing up, and somehow they always tasted better than anything I could replicate in my own kitchen for years. The secret wasn't some fancy technique—it was just buttermilk, patience, and the kind of golden-brown crust that crackles when you bite into it. One afternoon, after watching him work through the process three times over, I finally understood: the buttermilk wasn't just tenderizing the chicken, it was the foundation for everything that came after. Now I make them the same way, and my friends ask for the recipe almost every time.
I'll never forget the first time I served these at a dinner party when my partner's family was visiting—I was nervous, honestly, because fried chicken feels like a dish you either nail or completely botch. But the moment their faces lit up after that first bite, I realized that good fried chicken isn't about being fancy, it's about respecting the process and not being afraid of a hot skillet.
Ingredients
- Chicken tenders: The smaller, more delicate cuts cook faster and stay tender; if you can't find them, slice chicken breasts lengthwise to roughly the same thickness.
- Buttermilk: This is doing the real work—the mild acids are breaking down proteins while adding a subtle tang that makes the final crust taste better.
- All-purpose flour: Use it fresh from the bag; old flour can affect how the coating adheres.
- Paprika, garlic powder, onion powder: These aren't optional flavor boosts; they're building the personality of your crust.
- Baking powder: This tiny addition is the trick to that extra-crispy texture—it creates little pockets of steam that make the coating shatter.
- Vegetable oil: Keep it around 175°C; too cool and the chicken absorbs oil instead of crisping, too hot and it burns before cooking through.
Tired of Takeout? 🥡
Get 10 meals you can make faster than delivery arrives. Seriously.
One email. No spam. Unsubscribe anytime.
Instructions
- Prepare the marinade:
- Whisk buttermilk with salt, pepper, garlic powder, and onion powder in a large bowl until everything dissolves and smells amazing. Toss the chicken tenders to coat evenly, cover the bowl, and let them sit in the fridge for at least an hour—overnight is better if you have the time.
- Mix your coating:
- Combine flour, paprika, salt, pepper, cayenne if you're feeling it, and baking powder in a shallow dish, stirring so the spices distribute evenly and there are no little flour clumps hiding in the corners.
- Heat your oil:
- Pour vegetable oil into a deep skillet or Dutch oven and heat it slowly to 175°C, checking with a thermometer if you have one—this patience pays off in perfectly cooked chicken.
- Dredge and fry:
- Pull each tender from the buttermilk, let the excess drip off for just a second, then press it firmly into the flour mixture so the coating really sticks. Working in batches so you don't crowd the pan, carefully lay them into the hot oil and listen for that satisfying sizzle.
- Cook until golden:
- Fry for 4 to 5 minutes per side, watching until the coating turns a deep golden brown and the internal temperature hits 75°C—don't rush this part or you'll end up with a crunchy outside and a cold inside.
- Rest before serving:
- Transfer the tenders to a paper towel-lined plate and let them sit for two minutes so the coating sets and the inside finishes cooking from the residual heat.
 Save
Save There's something almost meditative about standing at the stove, watching each tender turn from pale cream to burnished gold, listening to the oil snap and pop—it's the kind of simple cooking that makes you feel like you actually know what you're doing. My kitchen always smells incredible for hours afterward.
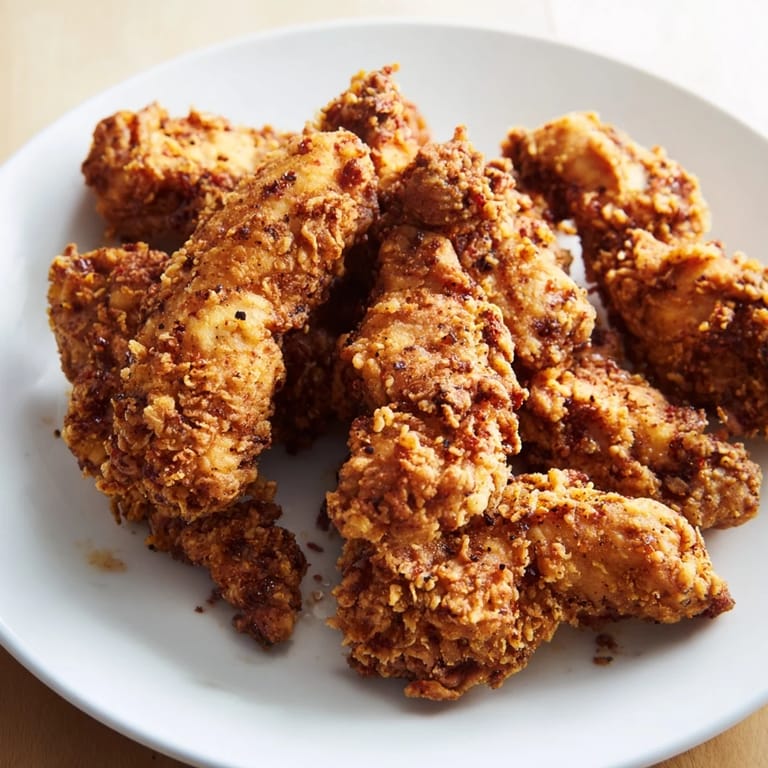
The Double-Dip Secret
If you want to take these from delicious to show-off worthy, after your first flour coating, quickly dunk each tender back into the buttermilk and roll it through the flour mixture one more time. This creates a thicker, crunchier exterior that stays crispy even after it cools down—it's the technique that transforms a good chicken tender into something your friends will ask you to make again.
Serving and Storing
These are best eaten warm and fresh from the pan, but they reheat beautifully—just pop them into a 180°C oven for about 5 minutes to revive the crust. I've found they keep well in the fridge for three days, which means you can fry a big batch on Sunday and have quick lunches all week.
Troubleshooting and Variations
If your coating turns dark too quickly, your oil is probably too hot—turn the heat down and give it a minute to cool. If the chicken inside isn't cooked through but the outside is already crispy, your oil was too hot to begin with; the internal temperature check with a thermometer really is worth the investment. Gluten-free flour blends work surprisingly well here, though they sometimes brown a bit faster, so keep a close eye on timing.
- Try adding a pinch of smoked paprika for a subtle BBQ flavor that pairs beautifully with ranch.
- If heat appeals to you, increase the cayenne pepper to 1 full teaspoon or mix a bit into your dipping sauce instead.
- Serve alongside simple sides like coleslaw, corn, or fries—let the chicken be the star.
 Save
Save This recipe has become my go-to for feeding people I care about, because it's humble, reliable, and honestly just makes people happy. Once you nail it, you'll find yourself making it far more often than you expected.
Recipe FAQs
- → How long should the chicken tenders marinate?
At least one hour in the refrigerator is recommended to allow the buttermilk and spices to tenderize and flavor the chicken well.
- → What oil is best for frying chicken tenders?
Vegetable oil with a high smoke point works best to achieve a crispy, golden crust without burning.
- → Can I double-dip the chicken for extra crunch?
Yes, dipping the tenders back into buttermilk and then coating again with flour creates an extra crispy outer layer.
- → How do I know when the chicken tenders are fully cooked?
They should fry until golden brown and reach an internal temperature of 75°C (165°F) to ensure safety and juiciness.
- → Are there gluten-free alternatives for the coating?
Yes, substituting the all-purpose flour with a gluten-free blend can accommodate dietary needs without compromising texture.