 Save
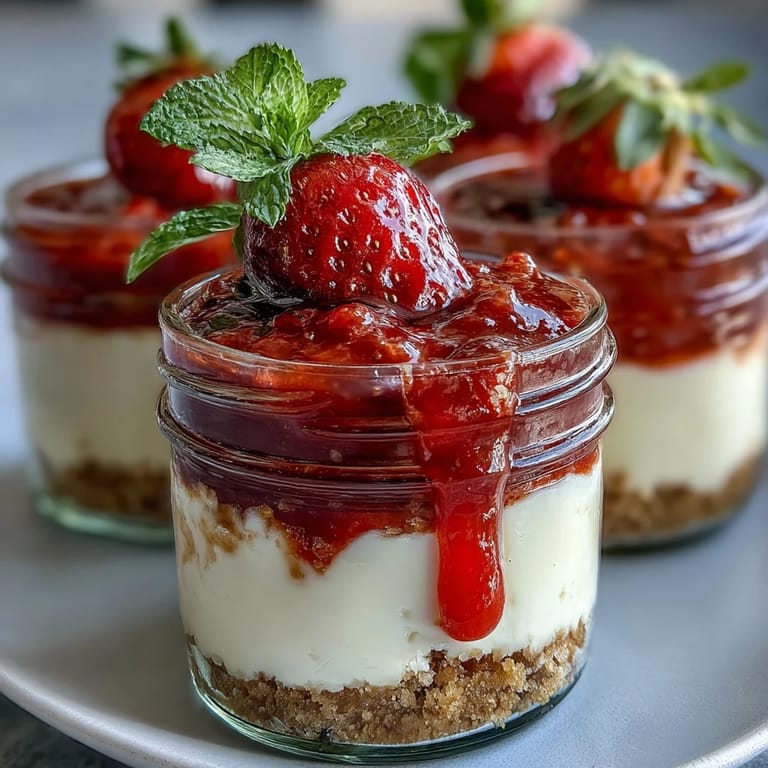
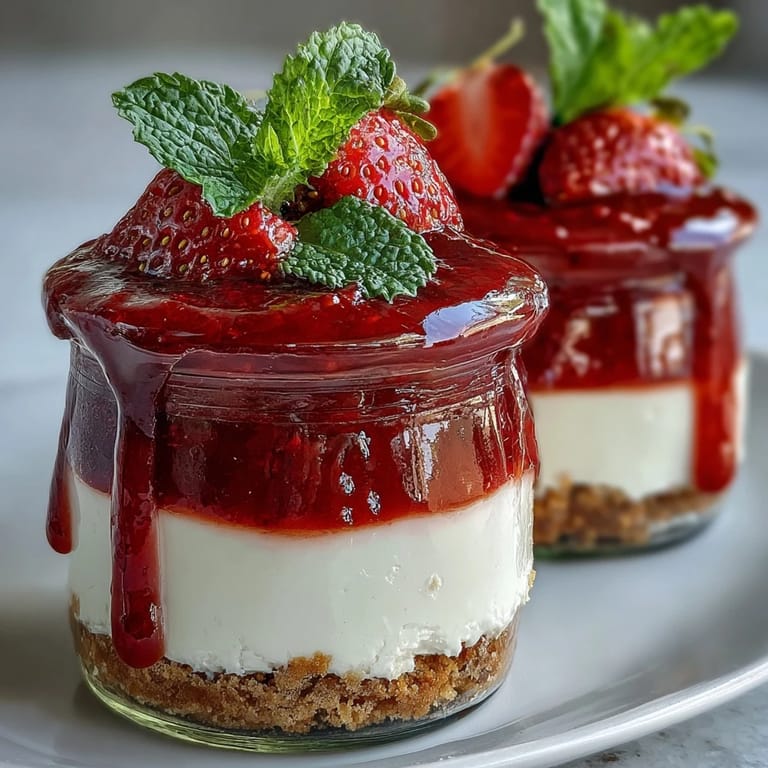
Save The hum of early spring always seems to arrive with a craving for something cool and bright, and one afternoon I found myself experimenting with these no-bake strawberry cheesecake jars as a way to welcome the season. The sun had just spilled over my kitchen counter, reflecting in the jars and making the whole process feel like a festival of color and sweetness. My curiosity about the layered effect had me carefully spooning each layer, hoping for perfect stripes. The sound of strawberries simmering filled the air with warmth, and I couldn't help but taste a little compote before assembling everything. Creating these jars felt more like play than work, and somehow that joy transferred right into the finished dessert.
I remember making these cheesecake jars for my friend’s garden brunch, where I was still nervous about preparing fancy desserts. As the jars chilled in the fridge, we swapped stories about kitchen mishaps and waited for that final reveal. Serving everyone their own jar felt like handing out little presents, and laughter erupted when we realized how easy but impressive they looked. It turned into a moment where the food was as much part of the celebration as the conversation. Ever since, individual desserts have become my go-to for gatherings.
Ingredients
- Graham crackers or digestive biscuits: These bring a subtle sweetness and crunch, and I found that crushing them by hand gives just the right chunkiness for a satisfying base.
- Unsalted butter: Using unsalted butter lets you control the flavor, while melted butter helps those crumbs compact and hold their shape perfectly.
- Cream cheese: Softened cream cheese whips up silky smooth—don’t rush this, as cold cream cheese clumps annoyingly.
- Whipping cream: Chilled cream whips up fluffier; I’ve learned to always move fast with cold cream, or it turns runny.
- Powdered sugar: It dissolves quickly into the cream cheese, saving you from grainy bites and making the filling velvety.
- Vanilla extract: A teaspoon adds depth, and I sometimes pause to inhale the scent before mixing.
- Lemon zest: It offers a fragrant brightness—grate only the yellow part or bitterness sneaks in.
- Fresh strawberries: The star of the compote, using ripe berries makes all the difference in flavor and color.
- Sugar: Just enough to bring out the strawberries’ juiciness without overpowering their tang.
- Lemon juice: This unlocks the fruit’s zing and balances the compote’s sweetness.
- Whole strawberries & mint: They turn each jar into a treat for the eyes—sometimes I skip the mint, but guests always notice its freshness when included.
Tired of Takeout? 🥡
Get 10 meals you can make faster than delivery arrives. Seriously.
One email. No spam. Unsubscribe anytime.
Instructions
- Build the base:
- Mix the crushed biscuits with melted butter until they look like wet sand in a bowl, then press a spoonful gently into each jar. You’ll feel the mixture firm up as you flatten it—careful not to press too hard, or it will get dense.
- Cheesecake magic:
- Whip softened cream cheese with powdered sugar, vanilla, and lemon zest until it’s cloud-like and streak-free; then, separately whip the cold cream to soft peaks. Fold the cream in gently—the mixture should feel airy and light, like spreading mousse over the base.
- Layer and chill:
- Spoon the cheesecake mix evenly atop the biscuit layer, smoothing the tops with a gentle swirl. Slide the jars into the fridge for at least 2 hours—impatience here means runny layers.
- Compote time:
- Combine chopped strawberries, sugar, and lemon juice in a saucepan and simmer over medium heat. Stir occasionally, watching as the berries soften and the scent sweetens; once thick, let it cool completely.
- Add the fruit layer:
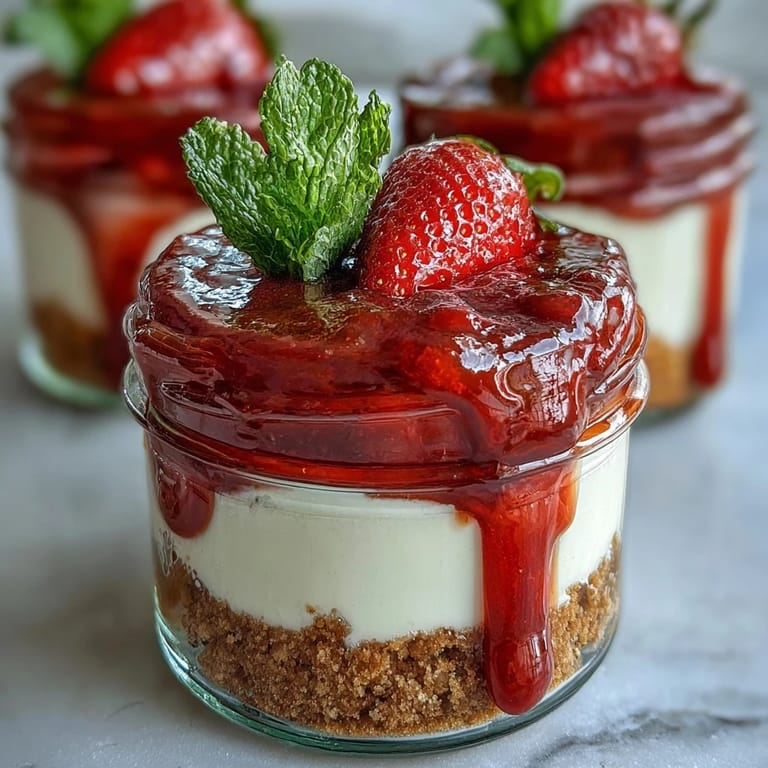
- After chilling, layer the strawberry compote atop the cheesecake mix in each jar. The compote’s ruby color is your signal it’s ready!
- Garnish and serve:
- Top each with a whole strawberry and mint leaf, if you like, then serve chilled. The aroma and color together are irresistible—share immediately for best impact.
 Save
Save One evening, these jars were served at the end of a rainy-day dinner, and their gentle pop of color seemed to lift everyone’s spirits. It was the kind of night where dessert felt like a pause for gratitude, and the only sound was spoons scraping glass.
Making Ahead for Gatherings
When prepping these ahead for parties, I realized they gain extra flavor after an overnight chill—the biscuit base softens a touch, and the cheesecake layer firms just right. The jars stack neatly in the fridge, so hosting feels less chaotic and more organized.
How to Vary the Fruit Layer
If strawberries aren’t in season, raspberries or blueberries step in beautifully—just adjust sugar for their tartness. Swapping fruits lets you pivot with whatever looks freshest at the market and keeps the dessert feeling new each time.
My Essential Cheesecake Fixes
There were a few times the cream cheese didn’t soften enough and led to lumpy filling, so now I let it sit at room temperature or microwave it for a few seconds before mixing. It's worth pausing for this step because smooth filling truly makes the jars shine.
- If the cream feels too thick, add a spoonful of milk to loosen it.
- Let the compote cool completely to avoid mess.
- Don’t skip lemon zest—it’s the secret spark.
 Save
Save These cheesecake jars are a simple pleasure, perfect for brightening a day or bringing a smile to a gathering. Let the layers invite curiosity and joy each time you serve them.
Recipe FAQs
- → How long should I chill the jars?
Chill the jars for at least 2 hours to let the cheesecake layer set and flavors meld perfectly.
- → Can I use other fruits instead of strawberries?
Yes, raspberries or blueberries work well as substitutes for the compote, adjusting sugar as needed.
- → Is it possible to make this gluten-free?
Simply swap the biscuits for gluten-free alternatives to ensure a safe, delicious base.
- → How far in advance can I prepare these jars?
You can make them up to 24 hours ahead for deeper flavor and easy serving.
- → What tools do I need for preparation?
Jars, mixing bowls, a hand mixer or stand mixer, saucepan, and spoon or spatula are all you need.
- → Are there any allergens to note?
This dessert contains milk and gluten. For special diets, use certified gluten-free biscuits and check product labels.