 Save
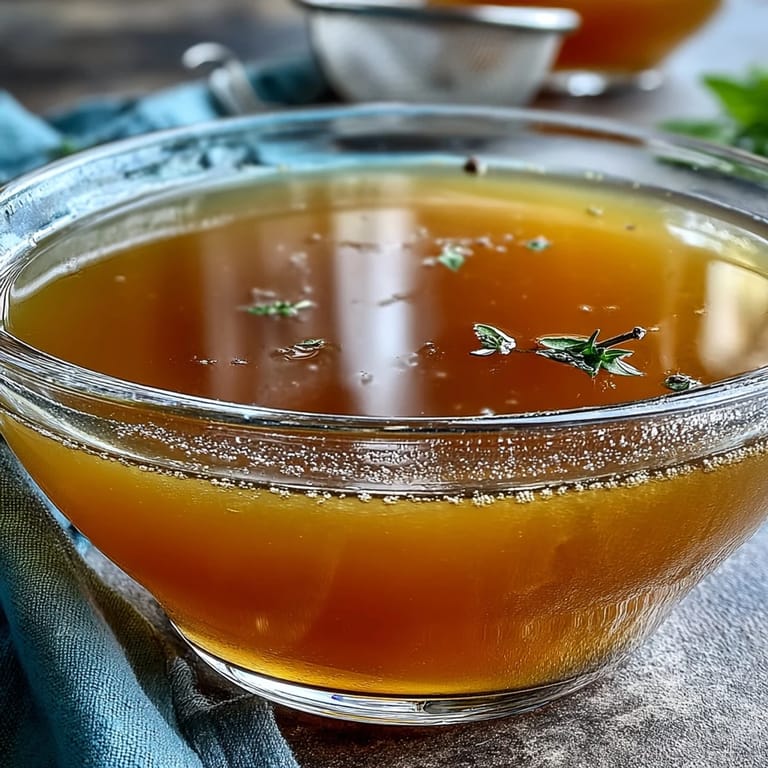
Save My kitchen drawer had become a graveyard of vegetable trimmings—carrot peels curling at the edges, onion skins that never made it to the compost, celery ends too short to chop. One quiet Sunday morning, instead of tossing them out, something clicked. What if I just boiled them? Within an hour, my apartment smelled like a farmer's market on a cool autumn day, and I had liquid gold in a pot. That first sip of homemade broth, warm and delicate, changed how I think about cooking waste.
My neighbor caught me saving vegetable scraps in a container on my counter and laughed until I invited her over for a bowl of this broth with fresh bread. She brought it to a potluck the next week and came back asking for the secret. Watching people realize that something so humble could taste so good reminded me why I started cooking in the first place—not for perfection, but for connection.
Ingredients
- Vegetable scraps: About 4 cups of clean trimmings—carrot peels, onion skins, celery ends, leek tops, mushroom stems, parsley stems, and garlic skins all work beautifully, but skip potato peels and anything from the cabbage family or they'll turn the broth bitter and cloudy.
- Bay leaf: Just one, because this leaf carries so much flavor it doesn't need a friend.
- Black peppercorns: Five to seven seeds that'll gently perfume the broth without overpowering it.
- Garlic: Two cloves, crushed so they release their essence—optional, but honestly, don't skip this.
- Salt: One teaspoon to start, but hold back a little if you're using this as a base for other recipes.
- Fresh thyme: One sprig, or half a teaspoon dried thyme if that's what you have, adding an earthy whisper to everything.
- Cold water: Eight cups that will become something entirely different by the time it simmers down.
Tired of Takeout? 🥡
Get 10 meals you can make faster than delivery arrives. Seriously.
One email. No spam. Unsubscribe anytime.
Instructions
- Gather your scraps with purpose:
- Pull together your vegetable trimmings in a bowl, checking that they're clean and fresh—no wilted bits or anything that's been sitting around. Think of this moment as the foundation; what goes in now determines what comes out later.
- Build your broth base:
- Dump the scraps, bay leaf, peppercorns, crushed garlic, salt, and thyme into a large stockpot and nestle them together like they're about to tell you their secrets. Pour in the cold water, making sure everything is submerged beneath the surface.
- Heat gently to a boil:
- Turn the heat to medium-high and watch the water slowly transform from still to shimmering to rolling boils—this gradual warming helps extract flavor instead of shocking it out. Once you see a proper boil, lower the heat to a gentle simmer where just a few bubbles break the surface.
- Simmer and skim:
- Let the broth bubble away for 45 to 60 minutes, occasionally skimming off any foam that rises to the top with a ladle—this keeps your finished broth clear and refined. The kitchen will smell incredible, the kind of aroma that makes people ask what you're cooking before they even walk in.
- Taste and adjust:
- After about 45 minutes, taste a spoonful and decide if it needs more salt or seasoning. Trust your palate; this is your broth, and it should make you happy.
- Strain with care:
- Pour the broth through a fine-mesh sieve or cheesecloth into a clean container, letting gravity do the work without forcing anything through. Discard the solids—they've given all they have to give.
- Cool and store:
- Let the broth cool to room temperature before transferring to airtight containers, then refrigerate for up to five days or freeze for up to three months. Future you will be grateful every time you pull it out.
 Save
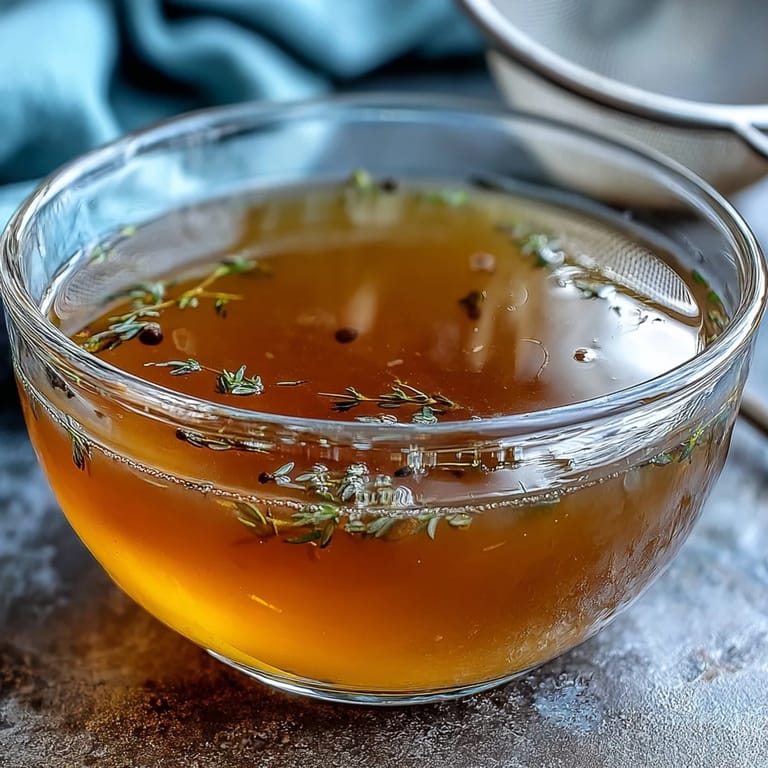
Save There was a moment during a harsh winter when I was sick and couldn't stomach much of anything, but sipping this broth felt like someone was wrapping a blanket around my shoulders from the inside. That's when I understood that good food isn't just about taste—it's about care, even when that care starts in a vegetable drawer.
When Roasting Changes Everything
If you want a deeper, more complex broth that tastes like it's been simmering all day, roast your vegetable scraps in a 200°C (400°F) oven for about 20 minutes before adding them to the pot. The edges will caramelize, the natural sugars will concentrate, and your broth will shift from delicate to rich—it's an extra step that feels indulgent for something that costs you almost nothing.
The Umami Advantage
Adding a small piece of kombu (dried seaweed) or a dried mushroom to your pot while it simmers opens up a whole new dimension of flavor that you didn't know you were missing. These ingredients carry umami, that savory fifth taste that makes everything feel more luxurious and complete, and they're often sitting in specialty sections waiting for exactly this kind of moment.
How to Use Your Liquid Gold
Once you have this broth made, the possibilities expand in every direction—use it as the foundation for soups, risottos, and grain dishes, or simply warm a cup and drink it plain on mornings when you need something honest and grounding. It's the kind of ingredient that elevates everyday cooking without any fuss or pretense.
- Pour it into risotto or other grain-based dishes where it becomes part of the foundation rather than just liquid.
- Remember to use it unsalted or lightly salted in recipes where you'll be adding other flavored ingredients later.
- Freeze it in ice cube trays so you always have small portions ready for quick cooking moments.
 Save
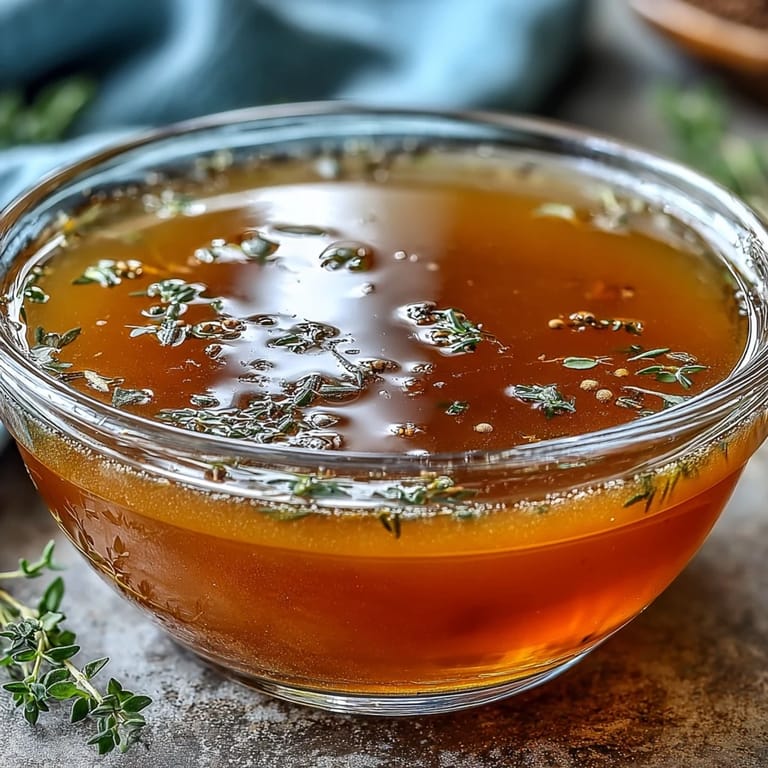
Save Making broth from scraps is one of those small kitchen practices that shifts your perspective on waste and worth. Every time you use it, you're tasting the result of attention and care, which is really what good cooking is all about.
Recipe FAQs
- → What vegetables should I avoid putting in broth?
Avoid potato peels, brassicas (broccoli, cauliflower, cabbage), and overly starchy or sweet vegetables as they can add bitterness or cloudiness to your broth.
- → How long does homemade vegetable broth last?
Properly stored in airtight containers, this broth keeps for up to 5 days in the refrigerator or up to 3 months in the freezer.
- → Can I enhance the flavor of my broth?
Yes! Roast the vegetable scraps at 200°C (400°F) for 20 minutes before simmering, or add a piece of kombu or dried mushroom for extra umami depth.
- → Why simmer uncovered instead of covered?
Simmering uncovered allows some evaporation, which concentrates the flavors. It also makes it easier to skim off any foam that rises to the surface during cooking.
- → Should I salt my homemade broth?
Adding salt is optional and depends on your intended use. If planning to use the broth in other dishes, keep salt minimal to allow better control of the final seasoning.