 Save
Save My neighbor knocked on my door mid-afternoon with that look—the one that says she'd volunteered to bring an appetizer to tonight's block party but was running out of time. I laughed and pulled her into my kitchen, where we threw together this layered dip that somehow became legendary. It turns out that when you stack flavors this boldly, people don't just eat it, they fight over the last chip, and honestly, that's when you know you've won.
I made this the night before my daughter's friends came over, and she actually wanted to serve it herself. Watching teenagers genuinely excited about eating vegetables alongside the creamy bean base taught me something: presentation matters, but also, sometimes people just want food that tastes as good as it looks on the plate.
Ingredients
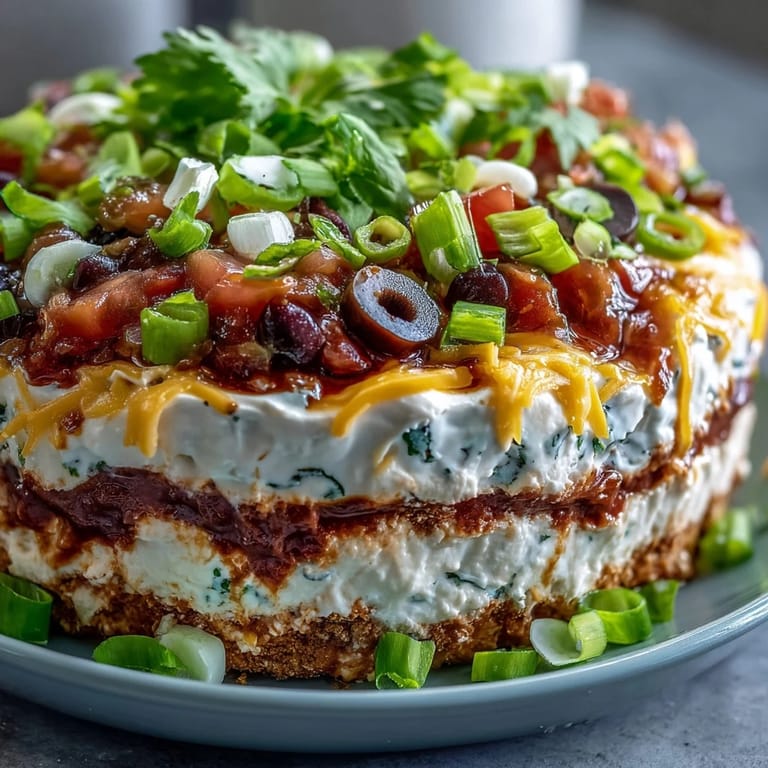
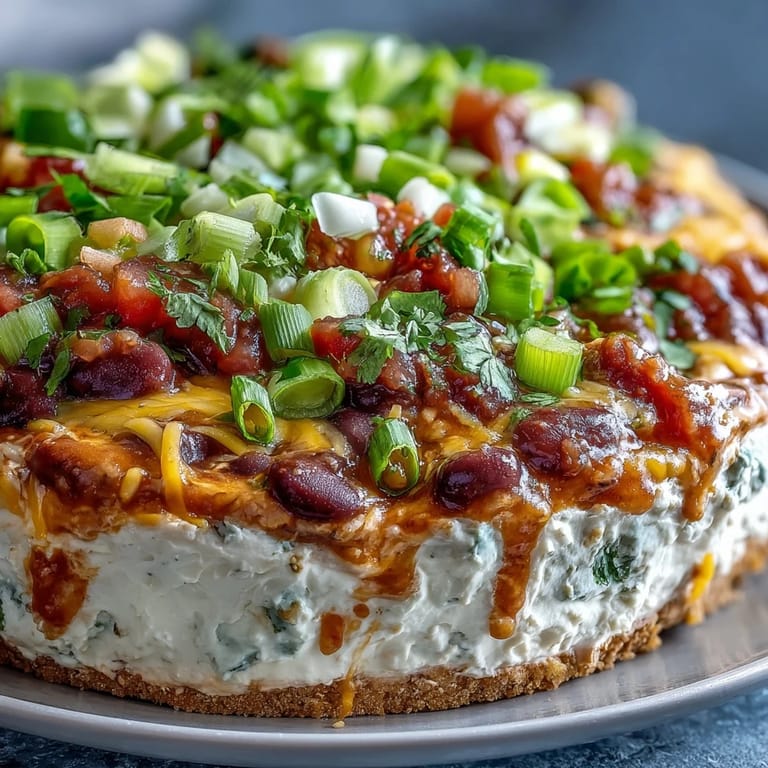
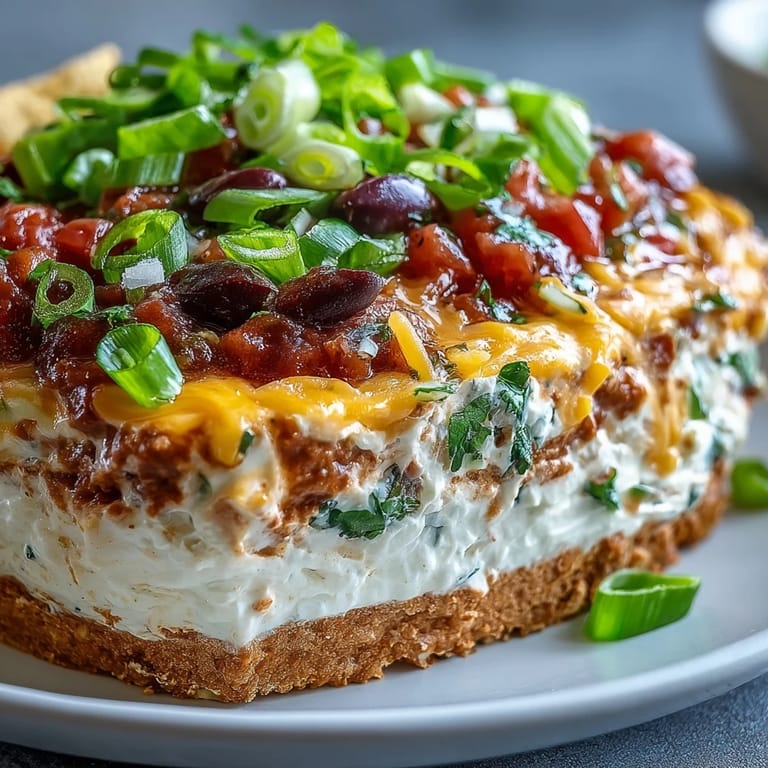
- Refried beans (16 oz can): This is your foundation, and seasoning it properly makes all the difference—don't skip the cumin and chili powder or the whole thing tastes one-dimensional.
- Sour cream and cream cheese (1 cup and 1 cup): Make sure your cream cheese is softened before mixing or you'll be fighting lumps; the lime juice here cuts through the richness in a way that makes everything feel brighter.
- Lime juice (1 tbsp): Fresh lime is non-negotiable; bottled tastes flat and misses the point entirely.
- Chunky salsa (1 cup, drained): Drain it well or your beautiful layers will turn into a soggy situation—learned that the hard way.
- Fresh cilantro, diced tomato, red onion (1/4 cup, 1 medium, 1/4 cup): These raw elements add the crunch and brightness that makes people reach for another chip.
- Shredded cheddar, black olives, green bell pepper, green onions (1 cup, 1/2 cup, 1/2 cup, 1/2 cup): The toppings are where you can have fun—these are suggestions, not commands.
Tired of Takeout? 🥡
Get 10 meals you can make faster than delivery arrives. Seriously.
One email. No spam. Unsubscribe anytime.
Instructions
- Spice and spread the bean base:
- Mix your refried beans with cumin and chili powder until it smells warm and intentional, then press it evenly into your serving dish using the back of a spatula. Take your time here because this layer is your canvas.
- Create the creamy middle:
- Blend sour cream, softened cream cheese, lime juice, and salt until it's completely smooth—this step matters because lumpy cream cheese ruins the whole vibe. Spread it gently over the beans, using a spatula to create an even layer that doesn't disturb what's underneath.
- Build the salsa layer:
- Combine your drained salsa with fresh tomato, red onion, and cilantro, then spoon it carefully over the cream mixture. The drained part is crucial—excess liquid will seep down and make everything mushy.
- Top it with color and crunch:
- Sprinkle cheddar cheese first, then scatter olives, green pepper, and green onions across the top in a way that looks intentional. This is where it stops being just food and starts being something people want to photograph.
- Chill and serve:
- Give it at least thirty minutes in the fridge so the layers set slightly and the flavors have time to know each other. Serve with tortilla chips or fresh vegetable sticks and watch people's faces light up.
 Save
Save There's something magical about food that brings people together without requiring any real cooking. This dip became my go-to for those moments when you want to contribute something meaningful but don't have hours to spend in the kitchen.
Why Layers Matter
The beauty of a layered dip is that every spoonful is different—you might get mostly beans one time and mostly salsa the next. This unpredictability keeps people coming back, dipping again and again, trying to find the perfect ratio. It's also why you shouldn't mix everything together; the moment you do, you lose that element of surprise.
Make It Your Own
I've made this dip at least twenty times now, and almost never the same way twice. Sometimes I add jalapeños for heat, sometimes I swap in Greek yogurt for sour cream to make it lighter, and once I even tucked a thin layer of guacamole between the beans and the cream cheese. The recipe is a framework, not a rulebook.
Party Timing and Storage
Make this as close to serving time as possible—ideally no more than a couple hours before—because the layers do start to blur together the longer it sits. If you're making it ahead, assemble everything except the fresh toppings and add those right before guests arrive. The texture stays crisp and the colors stay vibrant.
- Add jalapeños, extra cilantro, or even crumbled chorizo if you want to push it beyond the basic version.
- If you're feeding a crowd, this recipe doubles easily in a larger shallow baking dish.
- Always chill your serving dish for ten minutes before assembling if you have the time—it keeps everything a bit firmer.
 Save
Save This dip has taught me that sometimes the simplest ideas, executed with care, become the thing people ask you to bring. That's more than good enough.
Recipe FAQs
- → Can I make this dip ahead of time?
Yes, you can assemble the dip up to 4 hours in advance. Keep it covered and refrigerated until serving time. For best results, add the final toppings just before serving to maintain freshness and crunch.
- → How do I prevent the layers from mixing together?
Drain the salsa well before adding it to prevent excess liquid from seeping into other layers. Spread each layer gently and evenly, and allow the dip to chill for at least 30 minutes so the layers set properly.
- → What can I serve with this layered dip?
Tortilla chips are the classic choice, but you can also serve it with pita chips, crackers, or fresh vegetable sticks like bell peppers, carrots, and celery for a lighter option.
- → Can I make a lighter version of this dip?
Absolutely! Substitute Greek yogurt for the cream cheese, use reduced-fat sour cream and cheese, and consider black beans instead of refried beans for added fiber and reduced fat content.
- → How long will leftover dip keep in the refrigerator?
Store leftovers in an airtight container in the refrigerator for up to 3 days. Note that the vegetables may release moisture over time, so the texture is best within the first 24 hours.
- → Can I add guacamole to this dip?
Yes! Add a layer of guacamole between the bean layer and the creamy layer for a delicious 5-way dip. Make sure to press plastic wrap directly onto the guacamole surface to prevent browning.