 Save
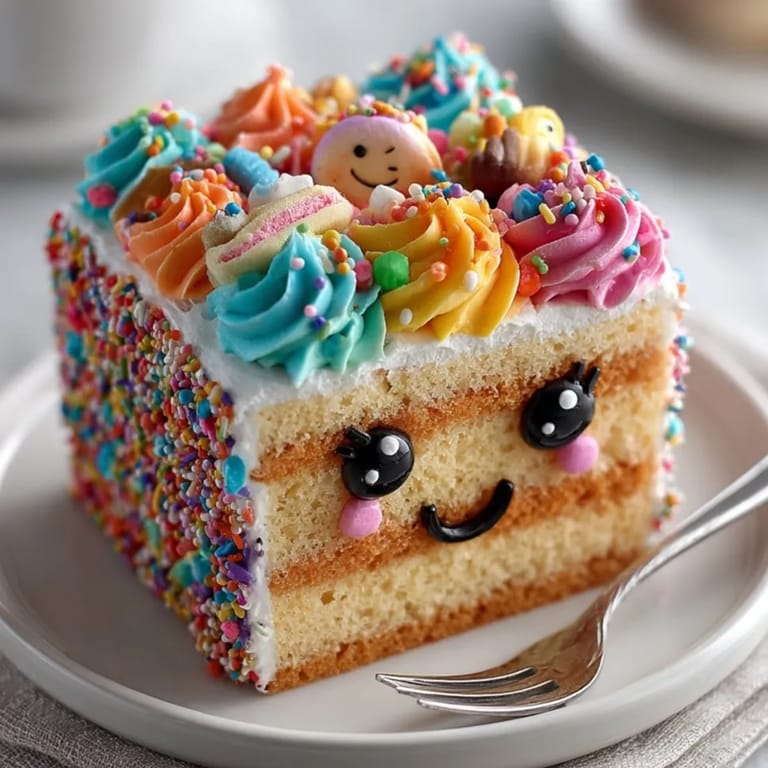
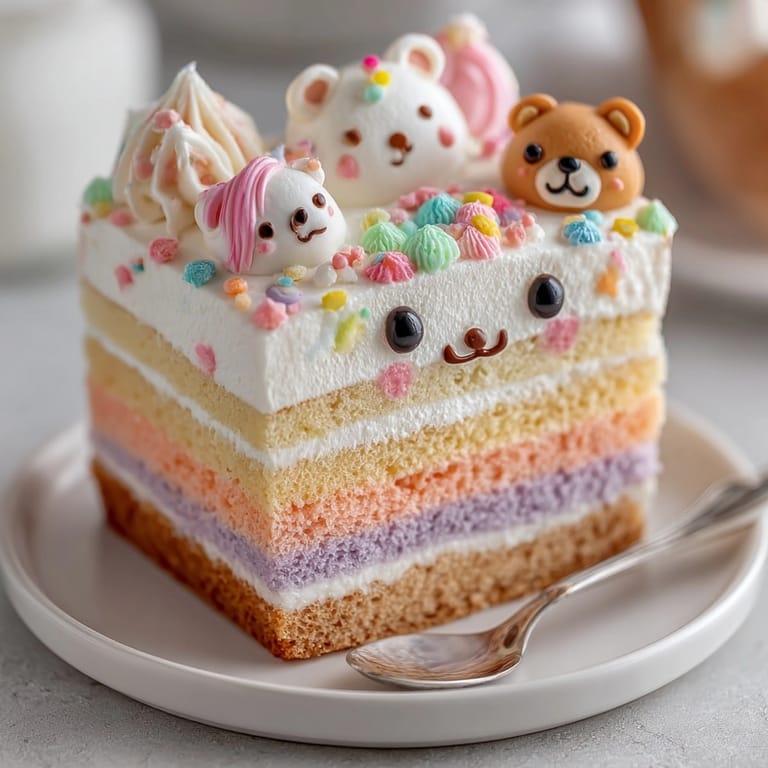
Save This collection of adorable mini bento cakes has become my secret weapon for turning ordinary celebrations into memorable moments of joy and laughter. The first time I made these whimsical treats for my niece's birthday, the delight on her face when she saw her personalized emoji cake was absolutely priceless.
I discovered bento cakes during lockdown when celebrating my husband's birthday at home. What started as a pandemic necessity has evolved into our family's favorite way to mark special occasions with personalized sweet treats.
Ingredients
- For the Cakes: All-purpose flour forms the foundation of our tender cake texture
- Granulated sugar: provides just the right sweetness without overpowering decorations
- Vegetable oil: creates moisture that helps these cakes stay fresh longer than butter-based versions
- Whole milk: adds richness look for organic if possible
- Large egg: binds everything together use room temperature for best incorporation
- Baking powder: ensures proper rise in these small cake forms
- Salt: balances sweetness and enhances flavors
- Vanilla extract: provides classic warmth choose pure extract for best flavor
Tired of Takeout? 🥡
Get 10 meals you can make faster than delivery arrives. Seriously.
One email. No spam. Unsubscribe anytime.
- For the Buttercream Frosting: Unsalted butter allows you to control salt content use European-style for extra creaminess
- Powdered sugar: creates that smooth texture essential for detailed decorating
- Milk: thins the consistency for perfect spreading
- Vanilla extract: complements the cake flavor
- Gel food coloring: offers vibrant colors without thinning your frosting
- For Decoration: Edible markers enable detailed facial expressions and writings
- Sprinkles, sugar eyes, fondant shapes, and mini candies: transform simple cakes into characters
Instructions
- Prepare Your Workspace:
- Gather all ingredients measured and at room temperature before beginning. Line your small cake pans with parchment circles cut to fit the bottoms. This preparation ensures smooth workflow and prevents sticking.
- Mix Dry Ingredients:
- Whisk flour, sugar, baking powder, and salt in a medium bowl until evenly distributed. This thorough mixing prevents flour pockets in your final cake and ensures even leavening throughout.
- Combine Wet Ingredients:
- In a separate bowl, whisk oil, milk, egg, and vanilla until completely emulsified. The mixture should look smooth and slightly thickened. This proper emulsion creates a tender crumb in the finished cake.
- Create The Batter:
- Pour wet ingredients into dry ingredients and fold gently with a spatula just until no dry streaks remain. Overmixing activates gluten and results in tough cakes, so use a light hand and stop when just combined.
- Portion And Bake:
- Divide batter evenly between prepared pans, filling each about two-thirds full. Tap pans gently on counter to release air bubbles. Bake in preheated oven until centers spring back when lightly touched and edges begin pulling away from sides.
- Cool Completely:
- Allow cakes to rest in pans for 10 minutes before transferring to cooling racks. Cool entirely before frosting to prevent melting buttercream and ensure proper decoration adhesion.
- Make Buttercream:
- Beat room temperature butter until light and fluffy, about 3 minutes. Add powdered sugar gradually while mixing on low speed to avoid clouds of sugar dust. Incorporate milk and vanilla, then beat on medium-high speed for 5 minutes until ultra-creamy.
- Frost And Decorate:
- Level cake tops with a serrated knife for flat decorating surfaces. Apply thin crumb coat of frosting and refrigerate for 15 minutes to set. Add final layer of colored frosting, then use additional colors, candies, and edible decorations to create funny faces or characters.
 Save
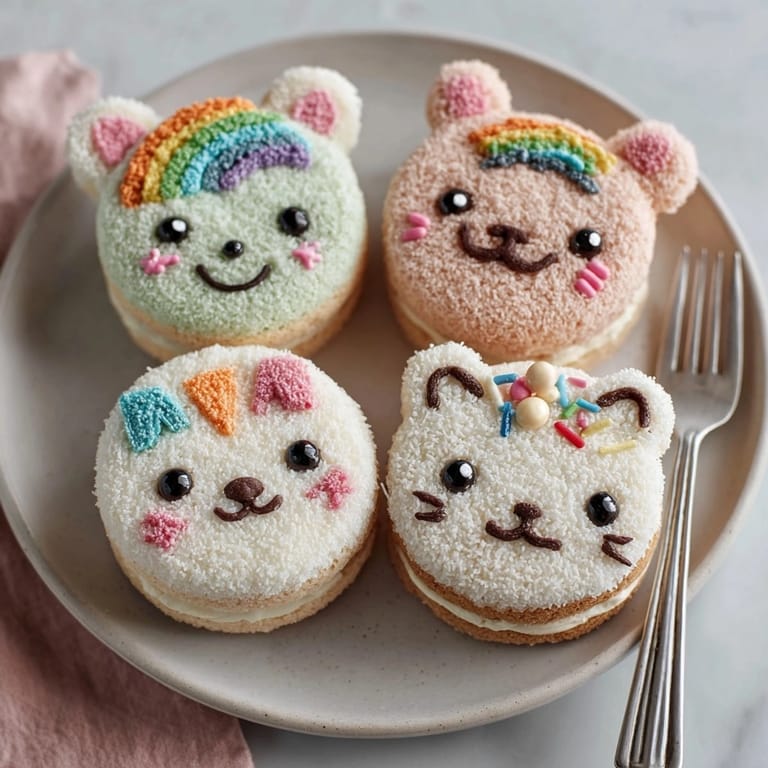
Save The gel food coloring has become my absolute favorite ingredient in this recipe. I learned through much trial and error that gel colors provide vibrant hues without thinning the frosting like liquid colorings do. My daughter now requests the "rainbow cake collection" for her birthday each year, where we create a lineup of differently colored character cakes.
Decoration Ideas For Beginners
Creating funny bento cakes doesn't require professional skills. Start with simple emoji faces using round yellow frosting as a base. Add eyebrows, eyes, and mouths with black frosting in a small piping bag with a fine tip. Once comfortable with basic expressions, move to animal faces or cartoon characters. Remember that imperfections often add to the charm and humor of these little treats.
Storage And Freshness Tips
These mini cakes maintain optimal freshness when stored in airtight containers in the refrigerator for up to 3 days. Allow them to come to room temperature for about 30 minutes before serving for best flavor and texture. If you need to transport them, place each cake in a small box or sturdy container to protect the decorations. Avoid plastic wrap directly on frosting as it will damage your designs.
Seasonal Variations
Summer Fun create beach-themed cakes with blue frosting "water" and teddy graham "swimmers"
Fall Festivities decorate as funny pumpkins or monsters for Halloween celebrations
Winter Wonderland design snowmen with different expressions and tiny fondant scarves
Making Ahead For Parties
These bento cakes work beautifully as make-ahead party desserts. Bake and freeze undecorated cakes up to one month in advance. Thaw overnight in the refrigerator before decorating the day before your event. This approach makes party preparation much more manageable and allows you to focus on detailed decorations without time pressure.
 Save
Save The joy of bento cakes lies in their personalized nature and the smiles they inevitably bring. While they may seem like simple treats, they carry the powerful ability to make someone feel truly special through a customized edible creation made just for them.
Recipe FAQs
- → How do I achieve vibrant colors for bento cake decorations?
Gel food coloring offers the best intensity for buttercream and fondant. Start with a small amount and gradually blend until the desired tone is reached.
- → What shapes and designs work best for whimsical bento cakes?
Simple shapes like smiley faces, animals, cartoon characters, and emojis are easy to recreate using buttercream, fondant, and sprinkles.
- → Can I bake the mini cakes in advance?
Yes, you can bake and cool the cakes a day ahead. Store them covered in the refrigerator and decorate just before serving for freshest results.
- → What’s the best way to apply tiny decorations on bento cakes?
Use a small offset spatula or tweezer for precision with mini candies, fondant pieces, and sprinkles. Chilling the cakes first helps decorations stick better.
- → Are there any fun flavor variations to try?
Chocolate, red velvet, or citrus-flavored sponges work great. Layer with fruit jams or flavored buttercream for added surprise and taste variety.
- → How can I make my bento cakes extra funny?
Personalize with puns, silly messages written in edible markers, or add playful fondant hats, ears, and expressive faces for extra laughs.