 Save
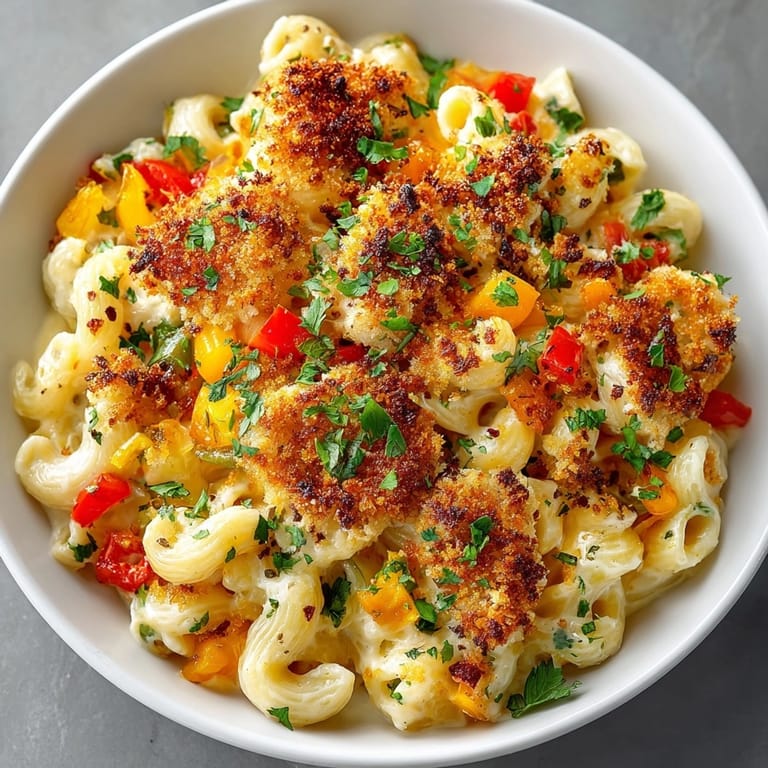
Save This spiced southwest green chile mac and cheese skillet transforms ordinary macaroni and cheese into a flavor-packed meal that brings warmth and comfort to any dinner table. The combination of roasted green chiles, aromatic spices, and three cheeses creates layers of flavor that elevate this dish beyond the usual mac and cheese experience.
I first created this recipe when trying to impress my spouse's family from New Mexico. Their approval was instant, and now this dish makes an appearance at nearly every family gathering. The way the green chiles complement the creamy cheese sauce still makes me smile every time I serve it.
Ingredients
- Elbow macaroni: forms the hearty base and its curves perfectly catch the creamy sauce
- Trio of cheeses: sharp cheddar brings bold flavor, Monterey Jack melts beautifully, and cream cheese adds silky richness
- Roasted green chiles: provide authentic southwestern flavor without overwhelming heat
- Yellow onion and garlic: create an aromatic foundation
- Red bell pepper: adds sweetness and vibrant color
- Cumin, smoked paprika and chili powder: bring essential southwest flavor profile
- Panko breadcrumbs: create that irresistible crispy topping that everyone fights over
Tired of Takeout? 🥡
Get 10 meals you can make faster than delivery arrives. Seriously.
One email. No spam. Unsubscribe anytime.
Instructions
- Prepare the pasta:
- Cook the elbow macaroni in generously salted water until just al dente, about 6 minutes. The pasta will continue cooking in the sauce later, so keeping it slightly firm now prevents mushiness in the final dish. Drain thoroughly but do not rinse to preserve the starch that helps the sauce cling.
- Create the vegetable base:
- Heat olive oil in your oven safe skillet over medium heat until it shimmers. Add diced onion, red bell pepper, and jalapeño if using, and sauté until the vegetables soften and the onions become translucent, about 4 to 5 minutes. Make sure to stir occasionally to prevent browning. Add minced garlic and cook for just one minute more the garlic becomes fragrant but not brown, which would make it bitter.
- Bloom the spices:
- Add green chiles and all the spices to the vegetable mixture. This crucial step wakes up the dormant flavors in the dried spices. Cook for exactly one minute, stirring constantly as the spices toast and become intensely aromatic. The mixture will look slightly dry but incredibly fragrant.
- Make the roux:
- Push all vegetables to one side of the skillet and add butter to the empty space. Once melted, sprinkle flour over the butter and whisk continuously for one full minute. The mixture should look like wet sand and smell slightly nutty. This roux will thicken your cheese sauce perfectly.
- Create the sauce:
- Gradually whisk in milk, starting with just a small amount to create a smooth paste before adding the rest. Bring to a gentle simmer, stirring constantly until the sauce thickens enough to coat the back of a spoon, about 3 to 4 minutes. Reduce heat to low to prevent scorching.
- Add cheese magic:
- Lower the heat and add cream cheese first, stirring until melted. Then add cheddar and Monterey Jack in small handfuls, allowing each addition to melt completely before adding more. This prevents the sauce from becoming grainy. The finished sauce should be silky smooth and coat a spoon richly.
- Combine everything:
- Fold the cooked macaroni into the cheese sauce, making sure every piece gets evenly coated. The pasta will absorb some of the sauce, so if it seems slightly too wet at this stage, that's perfect. Let the mixture sit for about 2 minutes to meld flavors.
- Create crispy topping:
- In a small bowl, thoroughly mix panko breadcrumbs with melted butter until every crumb is lightly coated. This ensures even browning. Sprinkle the mixture evenly over the mac and cheese, covering the entire surface.
- Broil to perfection:
- Place the skillet under the broiler, keeping a close eye on it. The topping will turn golden brown in just 2 to 3 minutes. Watch carefully as it can go from perfect to burnt very quickly. The ideal topping has a rich golden color with a few darker spots for flavor depth.
 Save
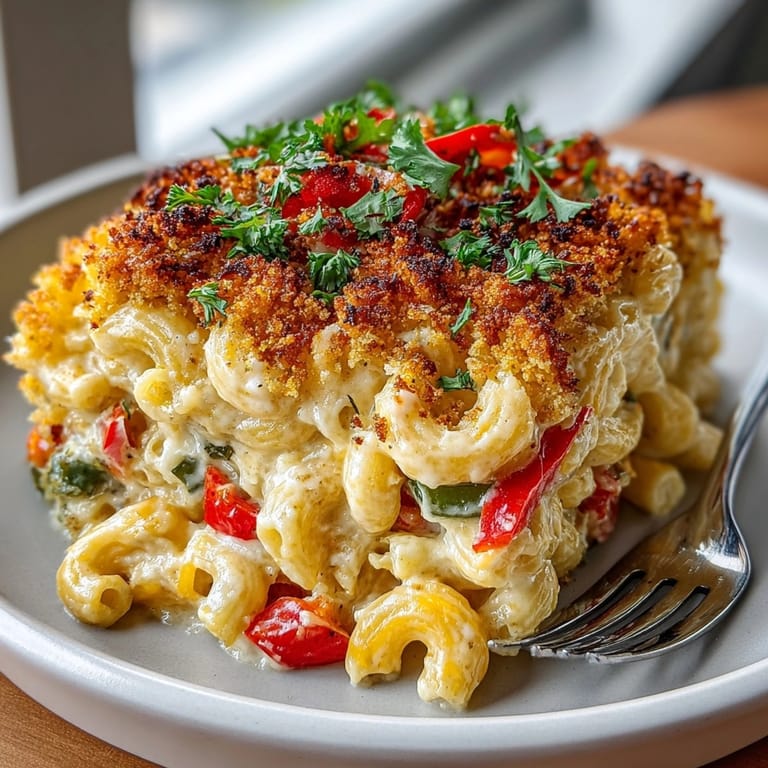
Save The roasted green chiles are truly the heart of this dish. I discovered their magic on a road trip through New Mexico where fresh roasted chiles perfumed the air at every farmers market. Their subtle smoky heat pairs perfectly with the creamy cheese sauce, creating a balance that even spice-cautious eaters enjoy. My family now requests this dish whenever the weather turns cool.
Storage and Reheating
This mac and cheese keeps wonderfully in the refrigerator for up to 4 days in an airtight container. The flavors actually intensify overnight, making leftovers something to look forward to. When reheating, add a splash of milk and cover with foil if using the oven (350°F for 20 minutes) or use short intervals in the microwave with a damp paper towel over the top to prevent drying out. The texture remains creamy and delicious, though the crispy topping will soften somewhat.
Ingredient Substitutions
While this recipe shines with the specific ingredients listed, adaptations can work beautifully. Gluten free pasta and a one to one gluten free flour blend can replace traditional versions. For a lighter version, substitute half and half for whole milk and reduce cheese by a quarter. Plant based alternatives for dairy products work surprisingly well, though the sauce may not be quite as creamy. Canned fire roasted tomatoes can stand in for green chiles in a pinch, though the flavor profile will shift slightly.
Serving Suggestions
This hearty skillet works beautifully as a main dish paired with a crisp green salad dressed simply with lime vinaigrette. For a more substantial meal, serve alongside grilled chicken or roasted pork tenderloin. The flavors complement Mexican inspired proteins wonderfully, especially anything with a chili lime marinade. For beverages, a crisp Mexican lager or a slightly sweet Riesling balances the rich, spicy notes of the dish perfectly.
Seasonal Adaptations
Summer version substitute fresh roasted corn kernels for some of the pasta. Fall adaptation add diced butternut squash to the vegetable mixture. Winter comfort boost stir in shredded rotisserie chicken before broiling.
Cultural Context
This dish draws inspiration from the cuisine of the American Southwest, particularly New Mexico, where Hatch green chiles are celebrated with festivals and roasting events each fall. The combination of chiles and cheese has deep roots in both Mexican and Native American culinary traditions. What makes this version special is the marriage of traditional mac and cheese techniques with these southwestern flavors, creating a fusion dish that honors both culinary heritages while being accessible to home cooks.
 Save
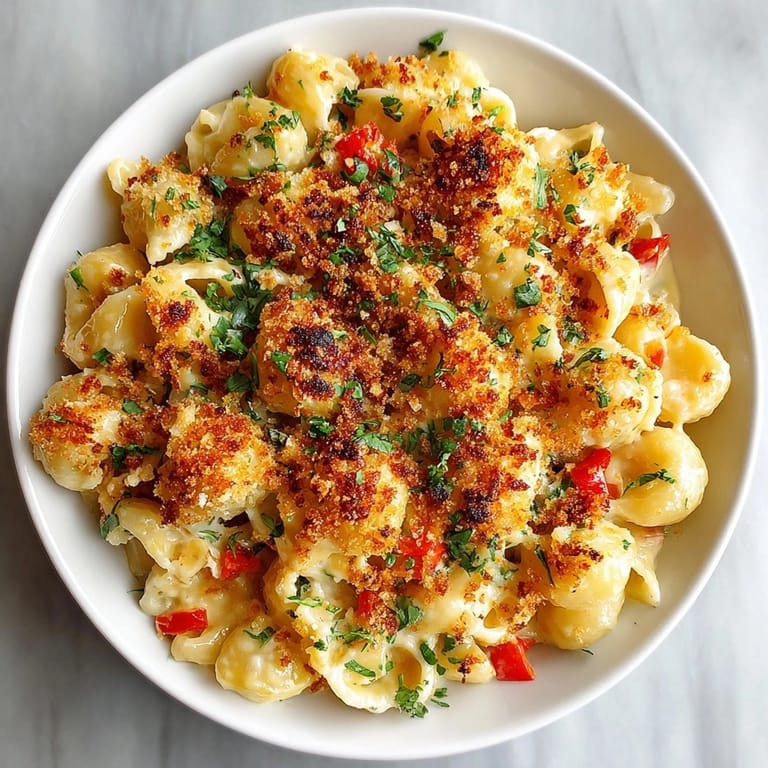
Save This rich and comforting mac and cheese is sure to become a family favorite. Enjoy the robust flavors and creamy texture that transport you straight to the heart of the Southwest.
Recipe FAQs
- → Can I make this dish ahead of time?
Yes! You can prepare the mac and cheese up to the point before adding the breadcrumb topping. Refrigerate it covered for up to 2 days. When ready to serve, bring to room temperature, add the topping, and broil until golden and bubbly.
- → How spicy is this dish?
The heat level is moderate with just the green chiles. For a milder version, omit the jalapeño and reduce the chili powder. For extra heat, keep the jalapeño seeds or substitute Pepper Jack cheese for the Monterey Jack.
- → Can I make this gluten-free?
Absolutely! Use your favorite gluten-free pasta, substitute the all-purpose flour with a gluten-free flour blend, and use gluten-free panko or crushed corn tortilla chips for the topping.
- → What can I substitute for green chiles?
If you can't find canned green chiles, you could roast, peel and dice a poblano pepper or use a mixture of mild green bell pepper with a dash of hot sauce to mimic the flavor profile.
- → What if I don't have an oven-safe skillet?
You can transfer the mixture to a buttered 2-quart baking dish before adding the topping and broiling. If you don't have a broiler, bake at 425°F (220°C) for 10-15 minutes until golden brown.
- → How do I store and reheat leftovers?
Store leftovers in an airtight container in the refrigerator for up to 3 days. Reheat in the microwave in 30-second intervals, stirring between each, or in a 350°F (175°C) oven covered with foil until heated through.